A surefire marker of middle age for geeks of my cohort is building an arcade cabinet and letting it gather dust. The point isn’t that you get to play old arcade games; you could have played them already on your computer. The point is to build it.
So that’s what I did. Knowing that it’s like a white elephant gift you give yourself, I decided to build a bartop cabinet rather than a full‐size cabinet. At least then I’d be able to find it a good home or stick it in the garage if we just didn’t have the room for it anymore.
It will perpetually be in a state of “99% done” because there are tons of little tweaks I’ll be making as future side‐projects, but for now I’m just going to enjoy it.
Typically the point of a post like this is to demystify the project and explain that it’s not as hard as it seems. In my case, it was much harder than it originally seemed, but that’s because my expectations grew almost as quickly as my ability to produce. You know that thing where you write a library, finish version one, and immediately want to scrap it all and start on version two? That’s what I did, except with physical objects. I’m not very smart sometimes.
If I put the whole process into one post I’d lose all of you before you got to the end of the page, so we’ll consider this a multipart series. Like the worst tweetstorms, this is part one of an indeterminate number of articles.
The highlights
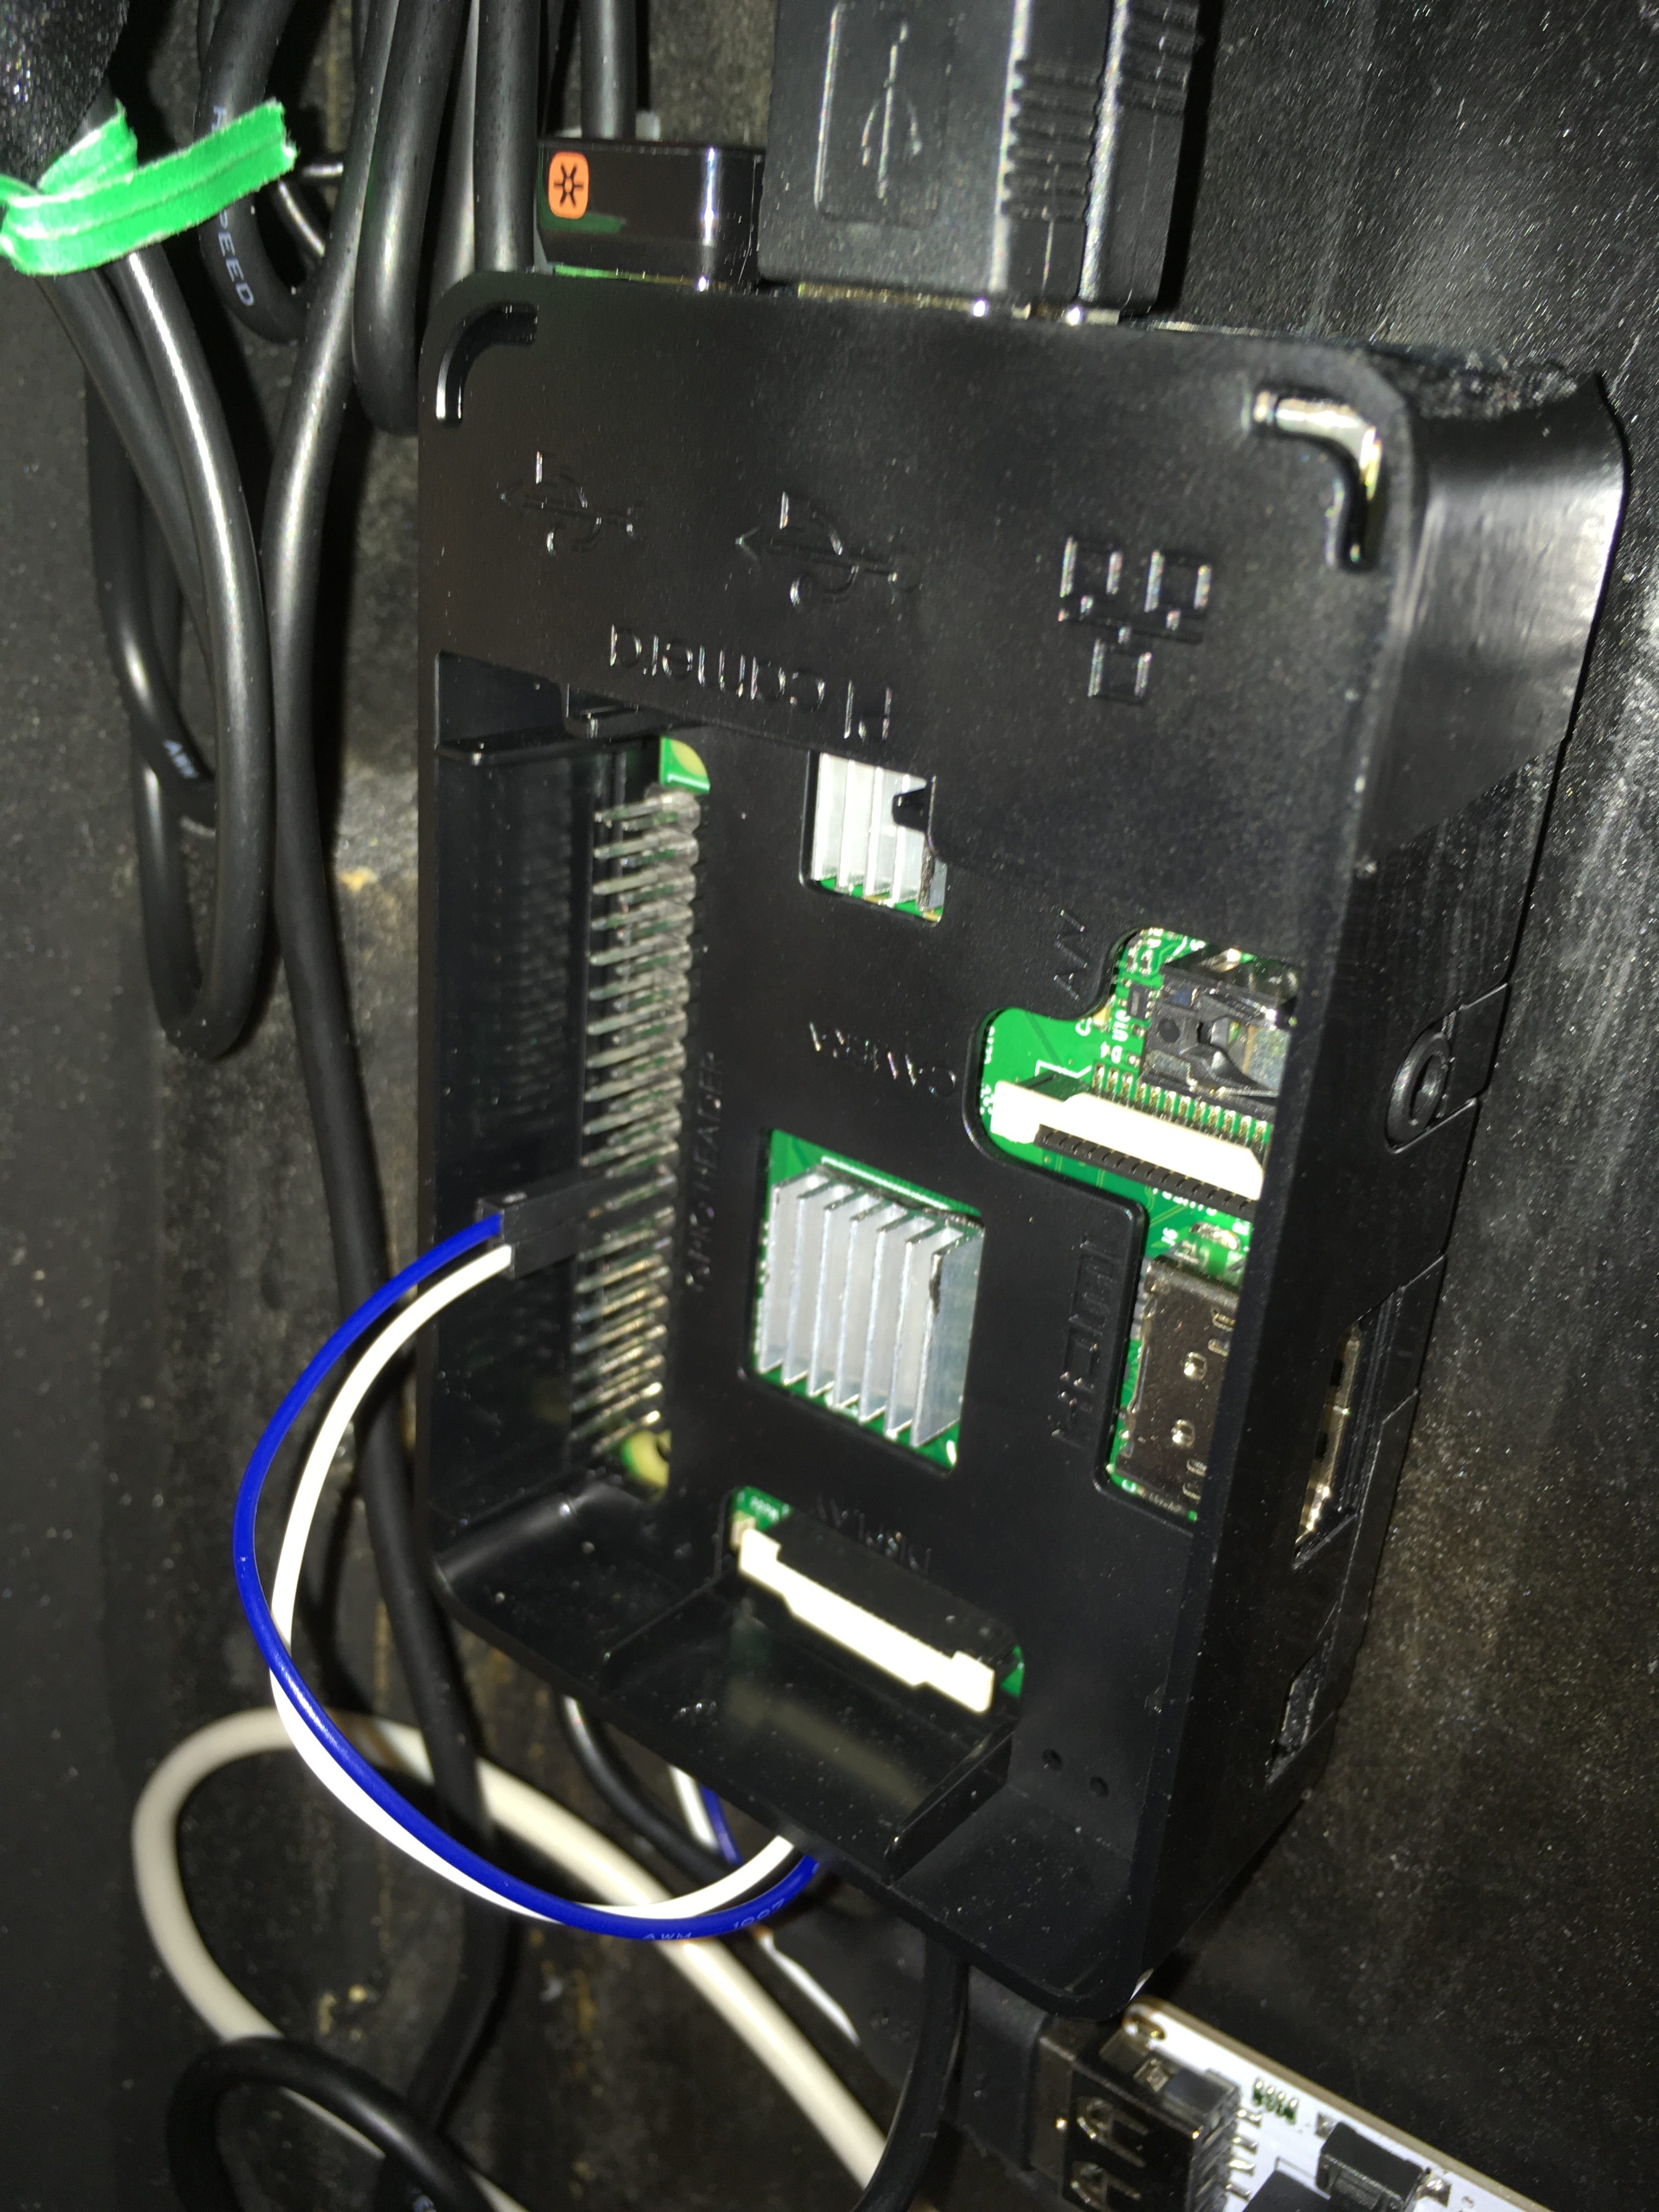
- The brain is a Raspberry Pi 3. Its hardware is fast enough to run 90% of the games I’d want to play. (I think Mortal Kombat 3 is the most demanding game that I’ve been able to get running at an acceptable speed. One day, God willing, RPis will be fast enough to run NFL Blitz.)
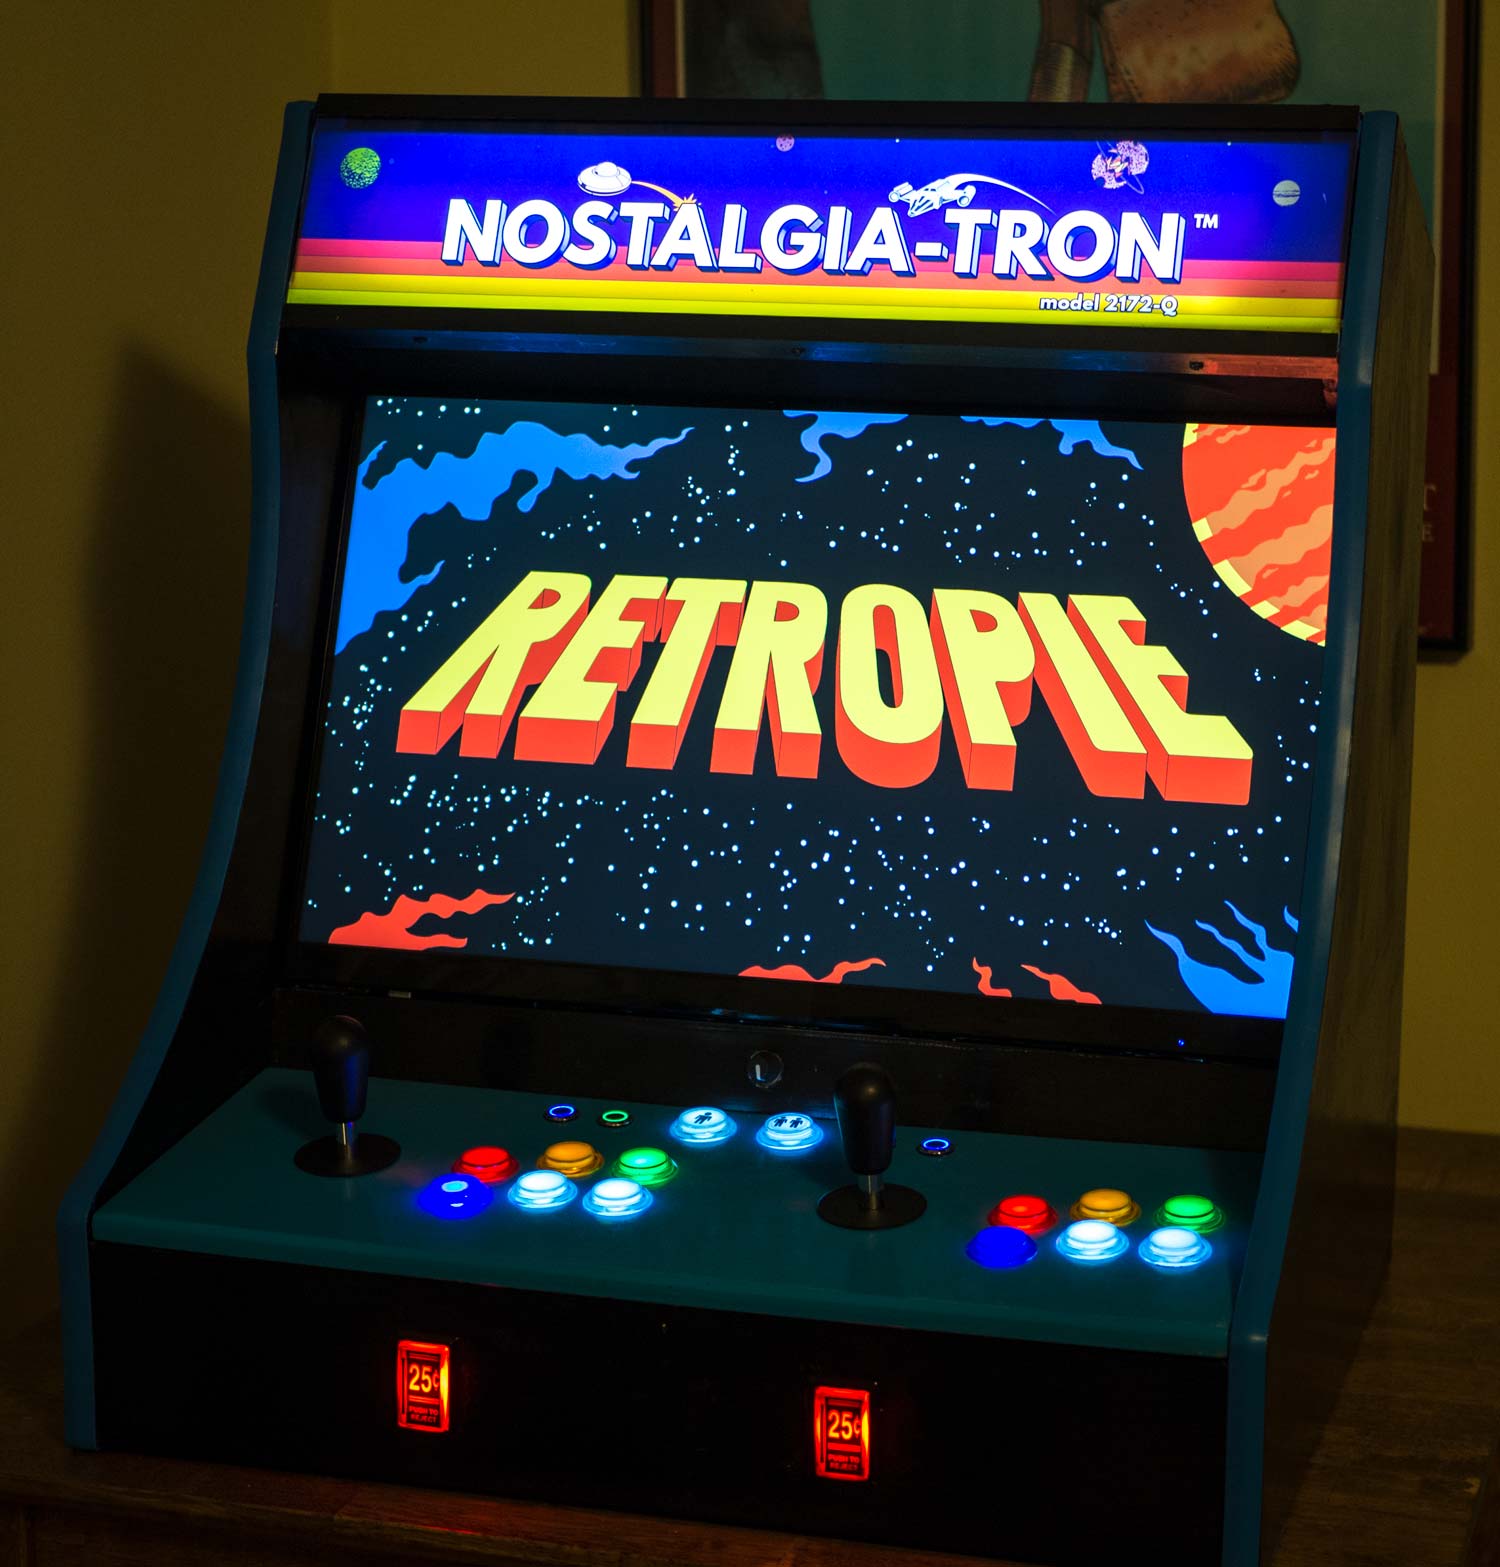
- RetroPie 4.0 serves as the software. Built atop Raspbian, it brings together RetroArch (a sort of middleware for emulators) and EmulationStation (a frontend for organizing and choosing games).
- There are about 100 games on the system, all of them arcade games. (If I decide I want to emulate home systems in the future, I’ll probably build a different machine that I can plug gamepads into.) I could put more on there, but honestly I strained to find as many as a hundred that were worth playing and could be played with only a joystick and six buttons. Some of the hundred are games I remember fondly. Some of them just come up frequently in “underrated arcade games” posts.
- The games are emulated by about a half‐dozen different ports of MAME. The MAME authors are preservationists and thus favor accuracy of emulation over performance, which means that older versions of MAME often run a game faster than newer versions. So the trick is to find the oldest version that supports the game you want to play — or, failing that, trying all your options and picking the one that emulates it the best. RetroPie manages this complexity well; it remembers which emulator you prefer to use for which game.
- The only other wrinkle is the addition of Daphne, an emulator for laserdisc games like Dragon’s Lair. I find these games to be frustrating as hell to play, but also incredibly cool, and the point here was mainly to see if I could pull it off.
- I went overboard on the hardware. Six buttons per player with built‐in LEDs, joysticks that switch from 4‐way to 8‐way as the game requires, a volume knob, a light‐up marquee, and the ability to turn everything on or off with the press of one button.
- I also went overboard on the software. I’ve written a small handful of scripts for setting volume, controlling which buttons light up at which times, finding out which of my games are missing descriptions or configurations, and even generating the page I linked to above that lists all the games I’ve got installed.
Why?
As Jeff Atwood points out, we’ve hit a sweet spot: the golden age of arcade games is now long enough ago that a credit‐card–sized computer can emulate the vast majority of games you’d want to play. This makes the project much cheaper than it used to be and much more feasible to fit into a small cabinet.
My comfort level with power tools has also increased quite a bit in the last couple years, and I finally had enough space to build my own cabinet from scratch rather than have to order a kit from someone and pass up the chance to customize it.
The plans
Here’s how I operate when I try my hand at new things:
- Having no confidence, I track down step‐by‐step directions for the thing I want to do.
- I follow the directions religiously until about halfway through, at which point I think “fuck it, I know what I’m doing” and start improvising.
- Half my improvisations come off nicely. The other half veer toward “trainwreck” status and get papered over.
I built the cabinet using plans I got from The Geek Pub. In retrospect, I’m sure there were similar plans I could’ve used somewhere else for free, but these were the first plans I came across that were designed for two players in a bartop form factor.
In several places I veered off the beaten path: speaker placement, button placement, marquee, and so on. But this was a great starting point. Also, their hardware list was a great resource; many of the things inside the cabinet are the exact items listed in their plans, including the monitor, the wireless keyboard, the speakers, and the two‐gang electrical box.
Building the cabinet
You’ll have to forgive me — I don’t have any good photos of this part, but the first 8–9 minutes of this video will give you a good idea.
Of all the tasks involved in making an arcade cabinet, the actual cutting of the MDF might be the easiest. Except for the two sides, all pieces are rectangular and are easily cut with a circular saw or table saw according to the cut list in the plans. I think this took a few hours one afternoon.
The plans called for ¾″, but I got ½″ by accident and didn’t realize until after I’d made all my cuts on the table saw. Luckily, this mainly affected the external dimensions. There’s a small gap on the rear panel of the cabinet near the bottom that I decided I could live with.
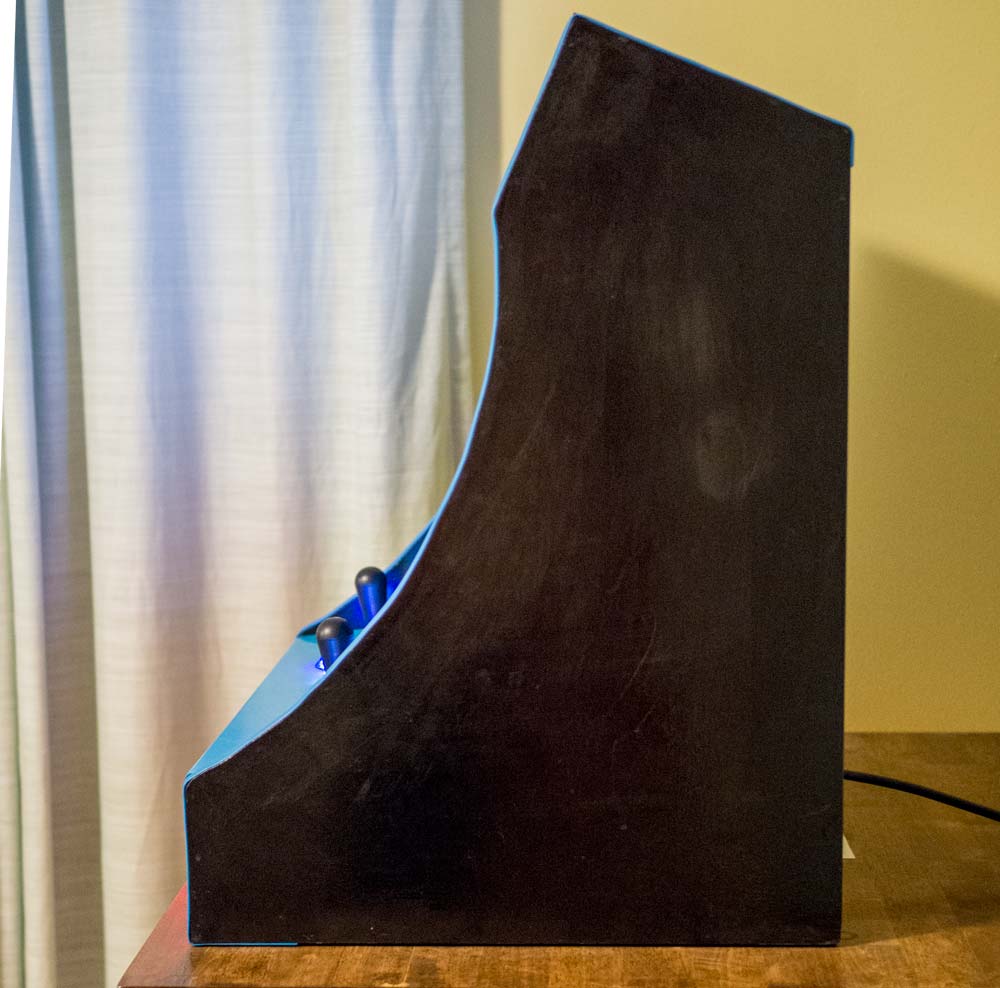
The side panels were the only challenge. The front edge of the panel makes a gentle curve downward from the marquee to the control panel. In retrospect I should’ve acquired a proper compass, but once I had drawn the rest of the outline, I put a length of masking tape onto a pencil, held the other end of the tape against a rough center point, and sketched a curve.
After cutting the curve with a jigsaw and cleaning up the bumps with a sanding block, I repeated the process with the other panel — except I cut very conservatively, leaving about an inch of excess material outside of the curve. To make the panels match exactly I clamped them together and used a flush trim bit on the router.
Even though I half‐assed this part and would take more care if I did it again, you’d only notice that the curve wasn’t perfect if it were sitting next to a perfectly cut cabinet. So that’s two imperfections that nobody would’ve noticed except for the fact that I just wrote about them.
After rigorous sanding, I put on a few coats of black spray paint, followed by a polyurethane finish.
T‐Molding
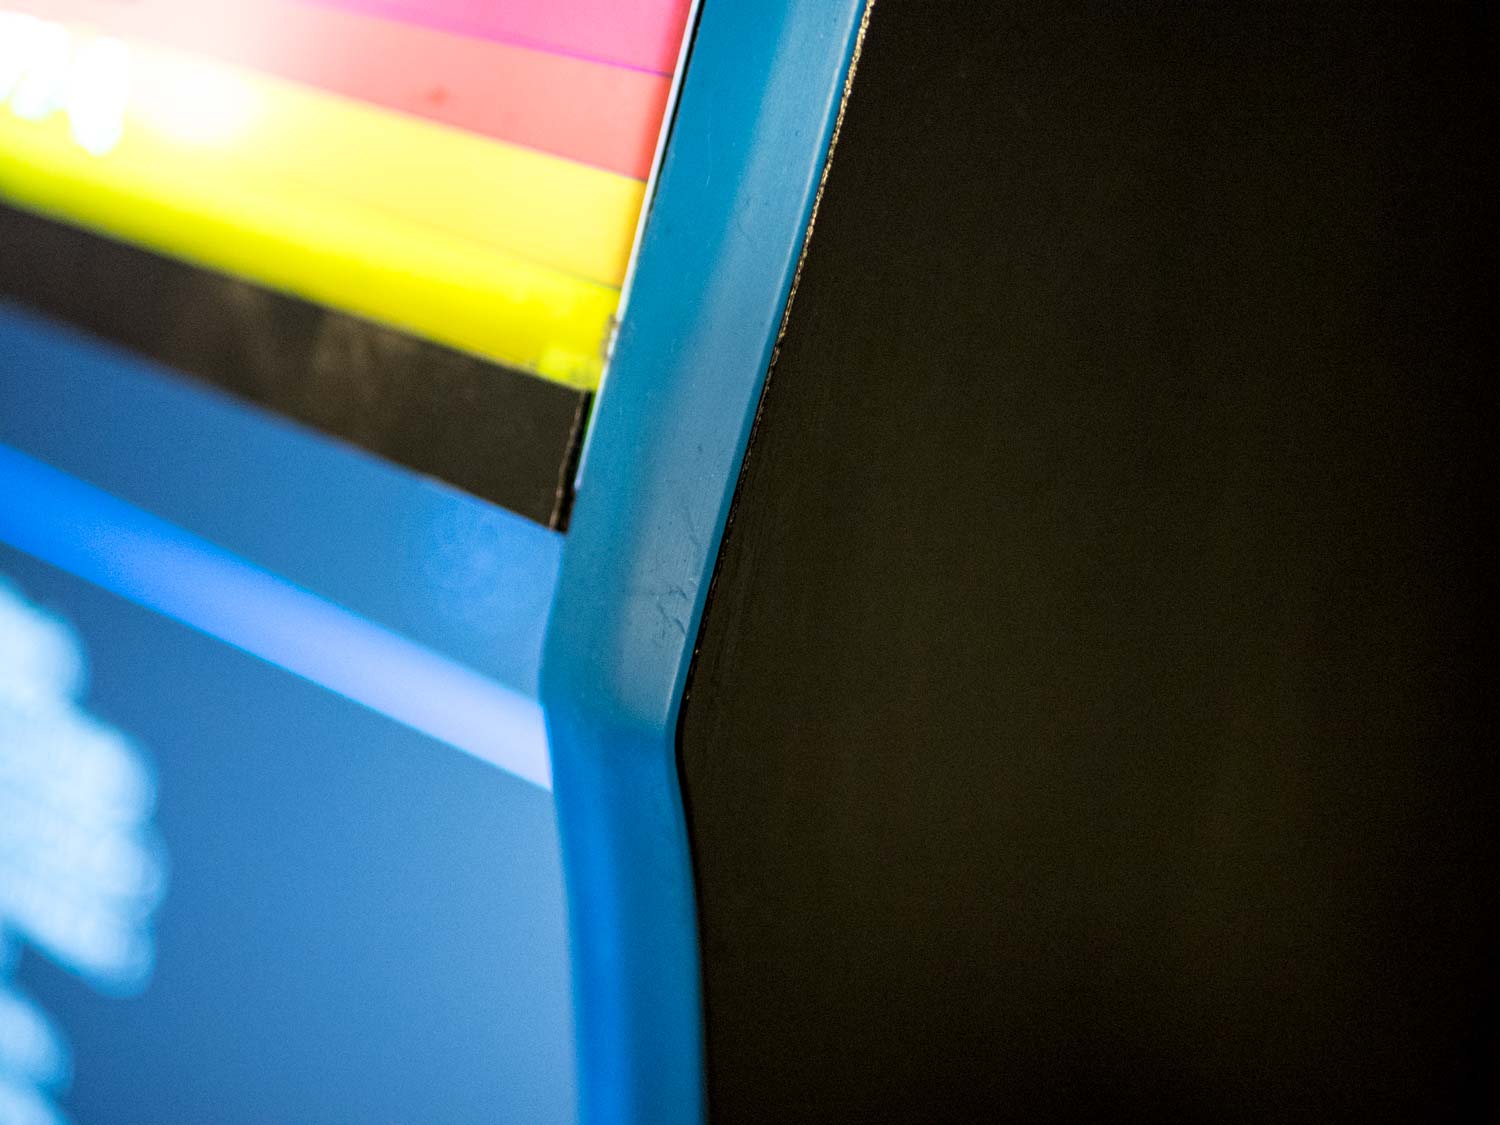
You may not have known what it was called, but I imagine you’d recognize T‐molding. It’s a plastic edging that covers up the rough end grain of the awful particle board that arcade cabinets are typically built from. I ordered some online along with the world’s most ornery router bit.
The bit cuts a deep and narrow slot into the edge of the MDF. Resign yourself to the fact that this is going to make an absolute mess, even if you’ve got a primo dust collection system. I had my dust collection hood installed on the router the whole time, yet halfway through it somehow looked up at me, sighed, and shrugged. Wear a respirator and eye protection. Hell, wear long sleeves — my forearms were itchy for hours afterward.
Once you’ve made the slot and cut the T‐molding to length, all that’s left to do is hammer it into the slot with a mallet. To fit it around the corners you’ll have to cut a few notches out of the underside of the molding. And if you screwed up any section of the slot and made it too wide, you can do like I did and apply your favorite adhesive to keep the molding in place. I used Gorilla Glue.
Coin slots
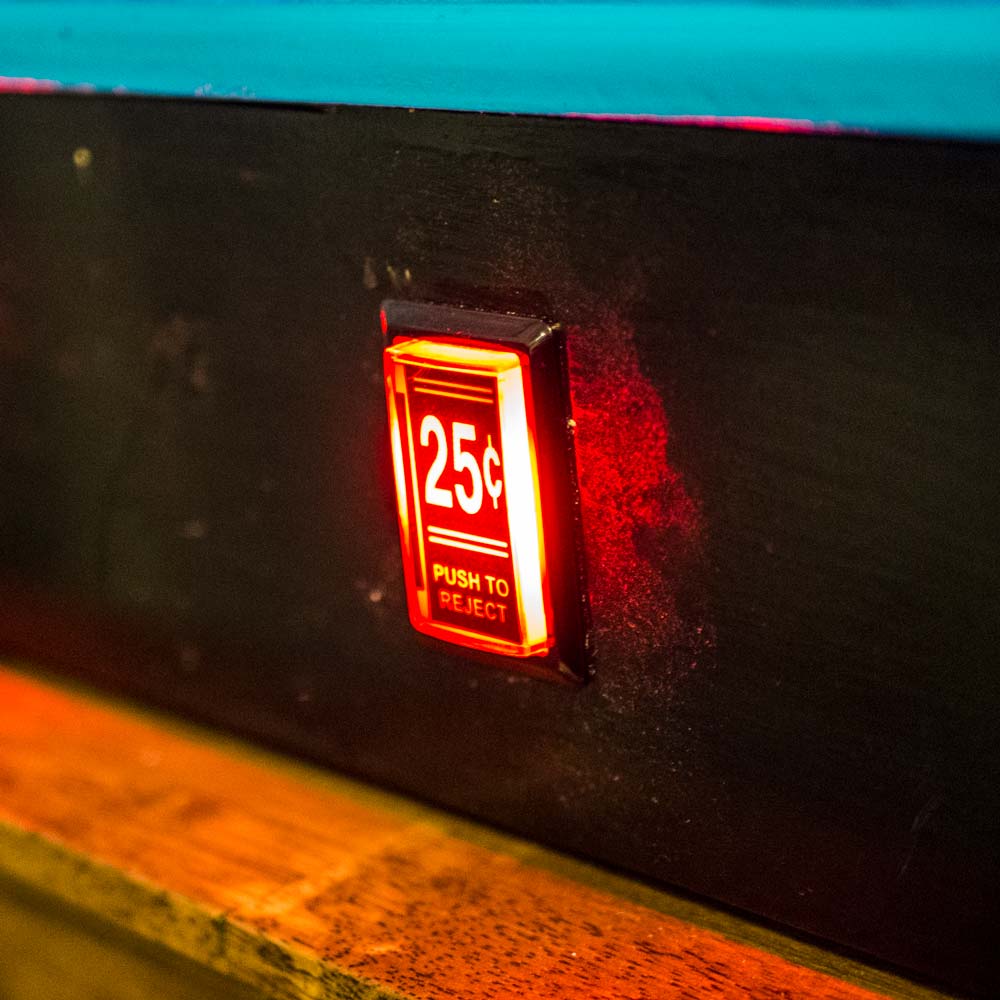
One of my first major improvisations was the addition of buttons meant to resemble coin slots. Instead of inserting actual money into the machine, you’d press one of the buttons to add a credit to the game you’re playing.

So I’d need to put some rectangular holes in the front panel of the cabinet. And it was already assembled, so I couldn’t afford to screw this up.
In a process I’d repeat later on for the control panel, I threw the front panel’s dimensions into Photoshop and drew rectangles of the exact size I’d need, then exported it to PDF. Surprisingly to me, Adobe’s own Acrobat Reader — which I haven’t bothered with since I switched to OS X back in the day — is the only PDF reader I found that can properly print oversized PDFs onto several letter‐sized sheets in a way that preserves the dimensions.
From there, I taped the pieces together and trimmed off the excess. I used 3M’s awesome Super 77 adhesive spray to affix the template onto the front panel.
How do you cut a rectangular hole in the middle of a rectangular board? My solution was to use a Forstner bit to drill four holes tangent to each of the rectangle’s sides. Then I was able to fit a jigsaw blade into the holes and cut from the middle to the corners. Instant rectangles!
I cut out a bit too much in one place, but wood filler and some paint touch‐up made this all but unnoticeable.
The buttons fit snugly.
And we’re done
By no means is this the end of the project, but it’s the end of this post. Next time:
- adventures in button placement,
- holes of the wrong diameter,
- MDF of the wrong thickness,
- my month‐long battle against a rat’s nest of wires, and how the wires eventually won,
- and much more.
I also promise there’ll be more photos in the next installment.
Comments
Hey!
Thank you for the post!
It’s very helpful both in the detalisation you demonstrate here, but also an emotional part that you express so openly.
Keep doing the great things!